How to Make a Snowboard - Part 4
This is part 4 in our series showing how to make a snowboard from start to finish.
In Part 1 we learned about the printing of the base and topsheet graphic and the transfer onto the actual base and topsheet material.
In Part 2 we cut the base in preparation for the next steps - attaching the rails and cutting the core and attaching the sidewalls.
In Part 3 we attached the rails (step 4) and prepped the core with the inserts, tipfill and attached the sidewalls (step 5).
In part 4, we'll cut the fibre glass, prepare the topsheet and see how the board is actually layed up - the guts of the board that goes together to create the magic!
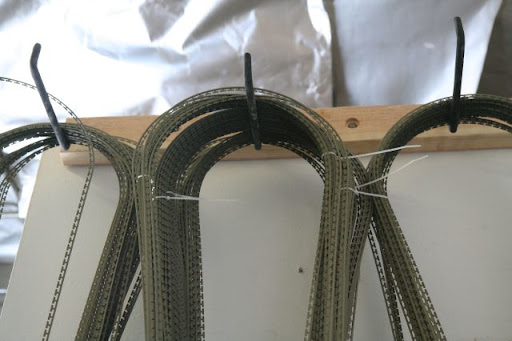
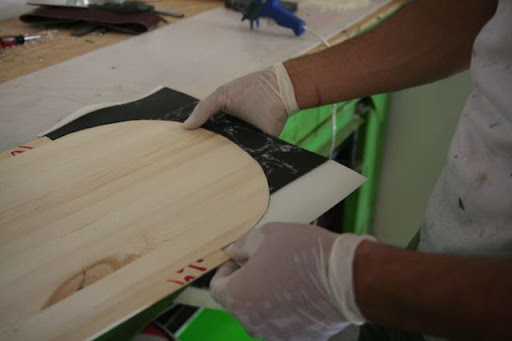
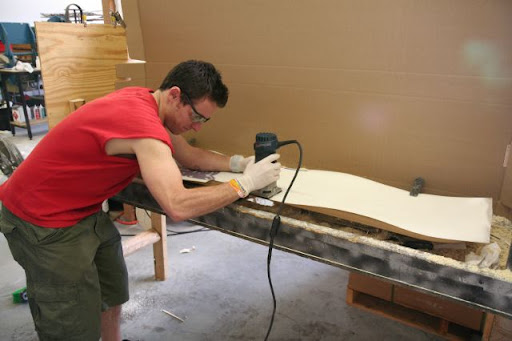
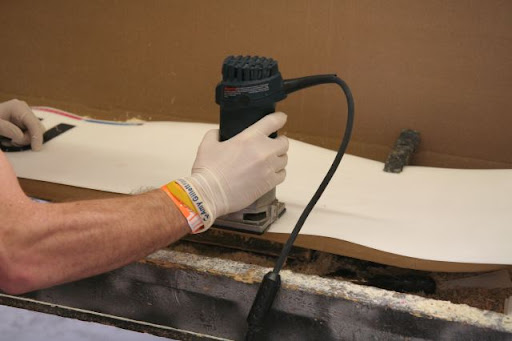
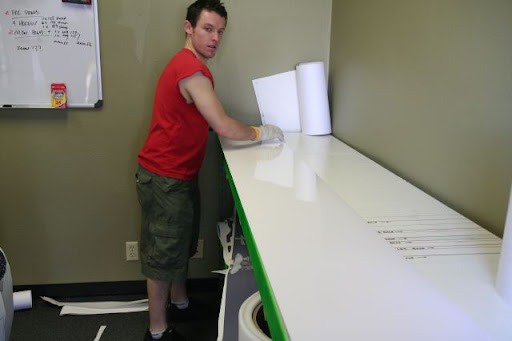
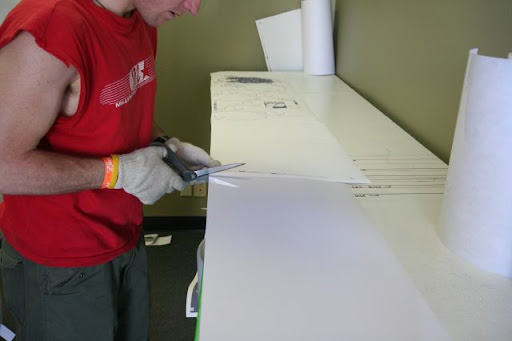
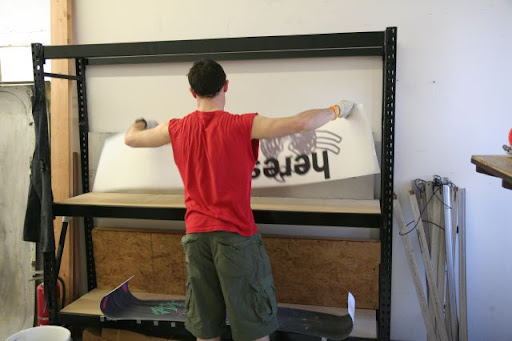
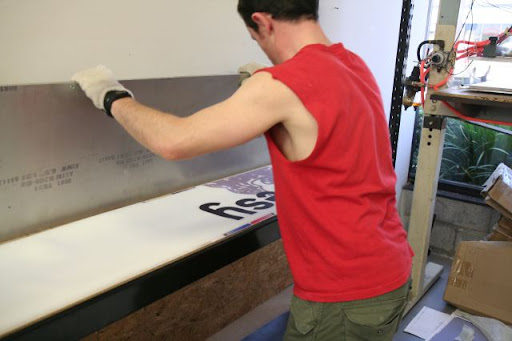
Step 6: Cutting the fibreglass
Here we cut two lengths of triaxial fibreglass for use above and below the core. Triaxial glass is stiffer than biaxial and gives better edge hold and flex performance. Two sheets of glass offer a good compromise between absolute indestructibility of say 4 layers (with hugely increased weight and stiffness), and the softness of 2 layers of biax (very soft). We'll be looking at introducing quadrax very soon in some incarnation to slightly increase the stiffness of some of our boards. Currently Heresy uses carbon stringers in some boards to add stiffness, but this also adds weight.

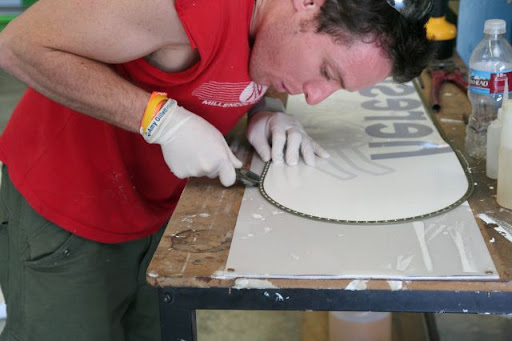
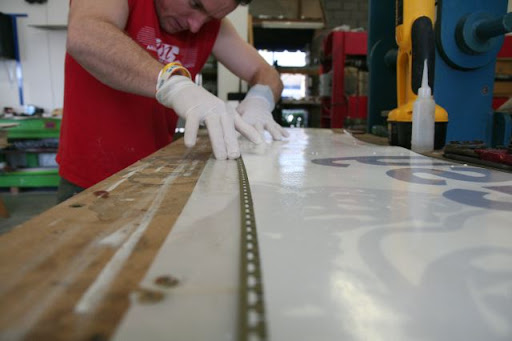
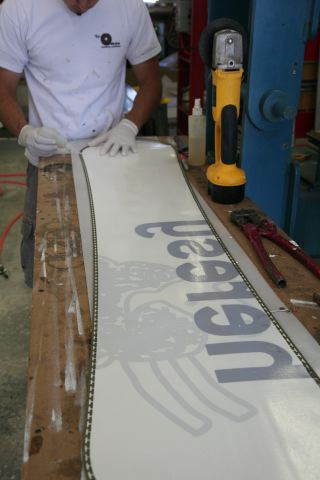
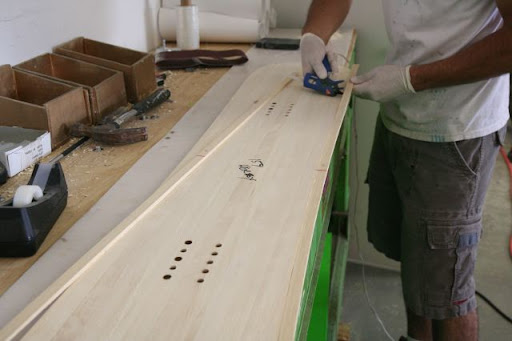
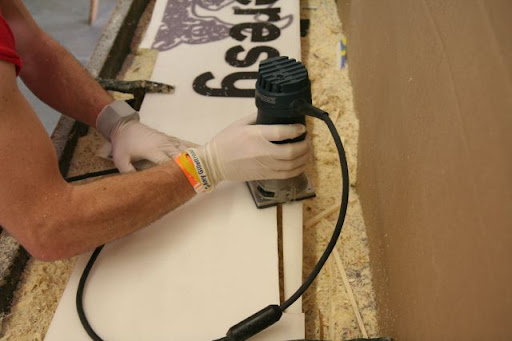
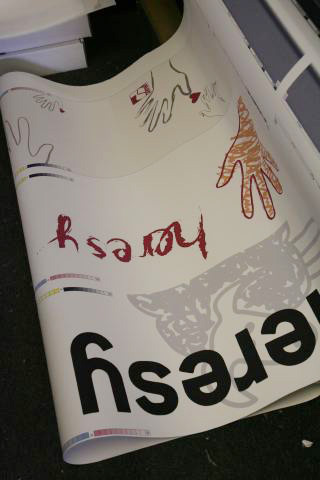
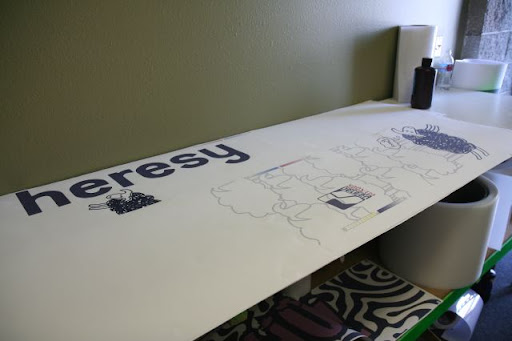
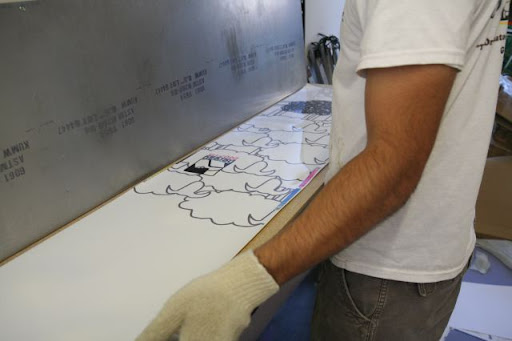
Step 7: Prepping the Topsheet
In this step, we take the printed topsheet, and apply a layer of thick masking tape to it as a protector from scratches in the press. The heat in the press will not affect the topsheet now that through the transfer process it has permanently taken on the print.


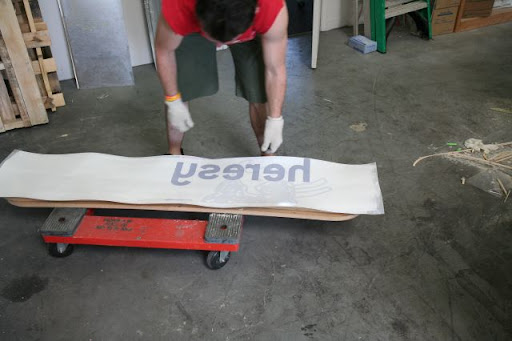
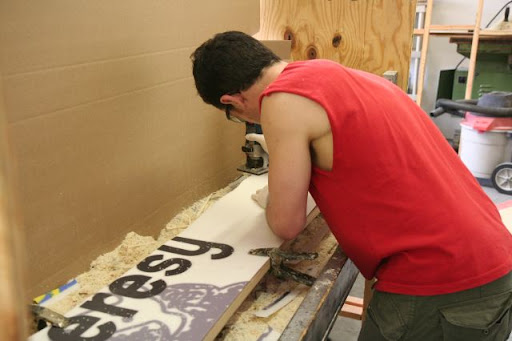
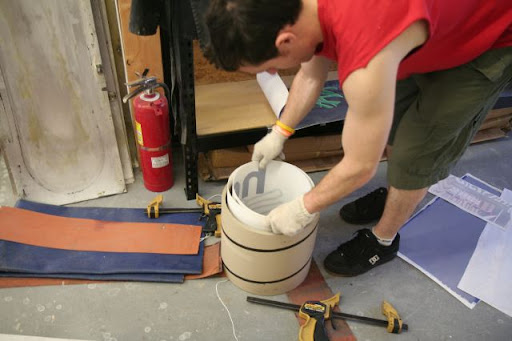
Step 8: Layup
Although all the work up until now has been fun, and important, this is where we have to pay really careful attention.
This step must be completed efficiently, accurately and quickly. The resin used when activated, starts warming up by dint of a chemical reaction, and we must get the board layed up and into the press reasonably quickly. So, let's see what happens inside the board!
First we can see the mold base. This is cleaned before every press to ensure freedom from foreign particles and residue from the last press.

First up, we put the base+rails in, applying a layer of resin.

We then apply the vibration dampening foils. These are applied along the contact edges and under the bindings, to help reduce vibration through the board.


Next, we lay up our first layer of fibreglass, pouring some more resin on, and spreading evenly, ensuring the glass soaks the resin up equally to ensure an even distribution in bonding throughout the board and a uniform flex characteristic.


Next, the core is layed up, with a dash of resin applied.

We apply another layer of fibreglass and resin, again making sure we coat the glass with resin equally.
Lastly, we lay down the topsheet.

The board is now ready for pressing and curing which is part 5 of our series, so stay tuned and check in for the next series. You can always subscribe to the blog feed to ensure you get the latest info to your RSS reader.
Someone asked in the last part if we would show the core creation. This is done external to the factory, but involves sections of poplar and beech which are then milled according to the board shape we want. So, generally speaking, we maintain cores for specific board lengths, but can alter them slightly, i.e. make a 163 wider for power, without affecting the performance or structural integrity.
In the meantime, you can check the boards out at our online store.
Technorati Tags: How to make a snowboard, Heresy Snowboards, Heresy Snowboarding, Snowboard Construction
This is part 4 in our series showing how to make a snowboard from start to finish.
In Part 1 we learned about the printing of the base and topsheet graphic and the transfer onto the actual base and topsheet material.
In Part 2 we cut the base in preparation for the next steps - attaching the rails and cutting the core and attaching the sidewalls.
In Part 3 we attached the rails (step 4) and prepped the core with the inserts, tipfill and attached the sidewalls (step 5).
In part 4, we'll cut the fibre glass, prepare the topsheet and see how the board is actually layed up - the guts of the board that goes together to create the magic!
Step 6: Cutting the fibreglass
Here we cut two lengths of triaxial fibreglass for use above and below the core. Triaxial glass is stiffer than biaxial and gives better edge hold and flex performance. Two sheets of glass offer a good compromise between absolute indestructibility of say 4 layers (with hugely increased weight and stiffness), and the softness of 2 layers of biax (very soft). We'll be looking at introducing quadrax very soon in some incarnation to slightly increase the stiffness of some of our boards. Currently Heresy uses carbon stringers in some boards to add stiffness, but this also adds weight.

Step 7: Prepping the Topsheet
In this step, we take the printed topsheet, and apply a layer of thick masking tape to it as a protector from scratches in the press. The heat in the press will not affect the topsheet now that through the transfer process it has permanently taken on the print.


Step 8: Layup
Although all the work up until now has been fun, and important, this is where we have to pay really careful attention.
This step must be completed efficiently, accurately and quickly. The resin used when activated, starts warming up by dint of a chemical reaction, and we must get the board layed up and into the press reasonably quickly. So, let's see what happens inside the board!
First we can see the mold base. This is cleaned before every press to ensure freedom from foreign particles and residue from the last press.

First up, we put the base+rails in, applying a layer of resin.

We then apply the vibration dampening foils. These are applied along the contact edges and under the bindings, to help reduce vibration through the board.


Next, we lay up our first layer of fibreglass, pouring some more resin on, and spreading evenly, ensuring the glass soaks the resin up equally to ensure an even distribution in bonding throughout the board and a uniform flex characteristic.


Next, the core is layed up, with a dash of resin applied.

We apply another layer of fibreglass and resin, again making sure we coat the glass with resin equally.
Lastly, we lay down the topsheet.

The board is now ready for pressing and curing which is part 5 of our series, so stay tuned and check in for the next series. You can always subscribe to the blog feed to ensure you get the latest info to your RSS reader.
Someone asked in the last part if we would show the core creation. This is done external to the factory, but involves sections of poplar and beech which are then milled according to the board shape we want. So, generally speaking, we maintain cores for specific board lengths, but can alter them slightly, i.e. make a 163 wider for power, without affecting the performance or structural integrity.
In the meantime, you can check the boards out at our online store.
Technorati Tags: How to make a snowboard, Heresy Snowboards, Heresy Snowboarding, Snowboard Construction