
How to Make a Snowboard - Part 1
We've promised we'd put up a tour of our factory showing how our boards are made for some time, so, here it is; enjoy! We'll bring this to you over about 8 parts. We include the whole process include how to prepare the snowboard print, prepare the core, shape the snowboard, press, and finally finish the board including shaping the sidewalls and grinding the base.
In these photos you will see yours truly in red, and my man Sean in white. He's super-radical and I took him to Rock the Bells 2007 where we saw Rage Against the Machine, Wu Tang, Public Enemy, Mos Def and Cypress Hill amongst others. He was shocked.
So, here we go, Part 1: Print of, & Base/Topsheet creation.
Step 1: Base and Topsheet Print
In this step, we are printing the transfer for the base and topsheet graphic. This is printed on a large form factor printer in CMYK. Although the colours don't look rich upon exit from printer, this is not a cause for concern; the colours take a deep hue on transfer. To get to this point, we have designed the artwork in Adobe Illustrator (or Photoshop, or even something like Corel), to produce a file for the printer.
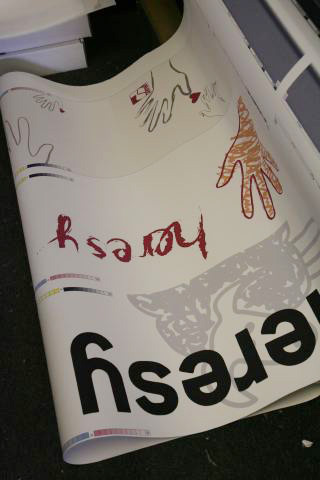
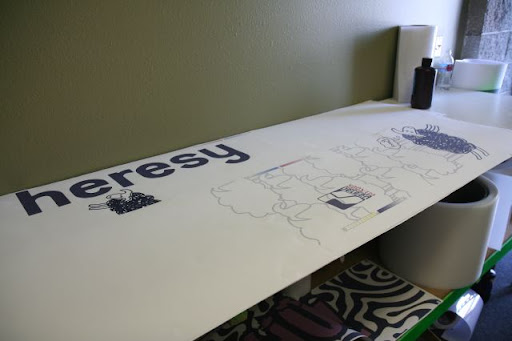
The finished topsheet print and base print.
That was easy eh? We now move on to the fun parts. At this point, I like to have a sip on my delicious Doctor Pepper beverage and sigh in excitement. "Why?" you ask? Because making snowboards is ace.
Step 2: Prepping, Printing and Curing the base and topsheet
After sipping from my crazy-ounced Dr Pepper, we begin prepping the topsheets and bases. Let's shorten base and topsheet to B&T which sounds suspiciously delicious (perhaps Bacon and Tomatoe, sandwich, but is really beetroot and tomatoe as I don't dig on pig so much).
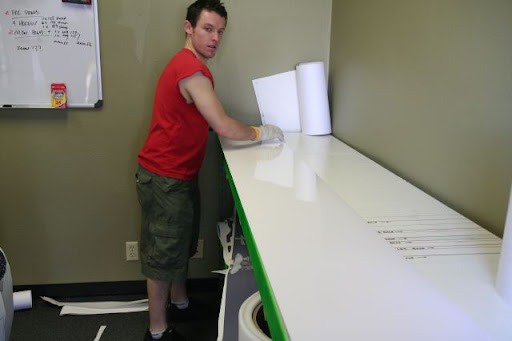
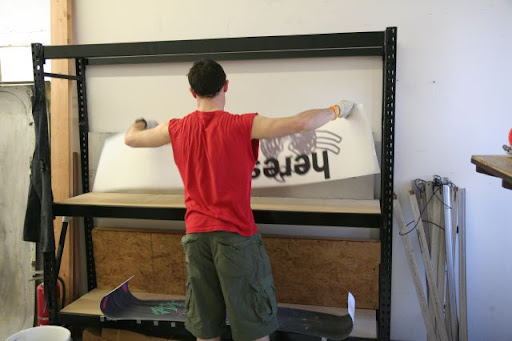
Here we go laying out a length of the ISO topsheet.
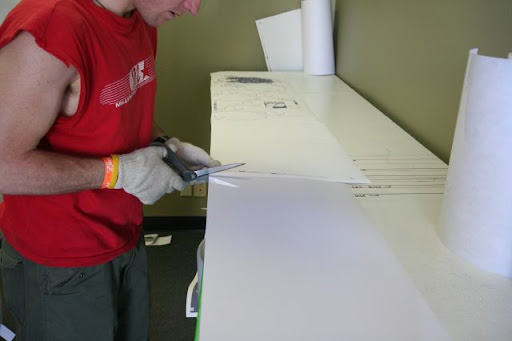
Cutting, cutting.
Here, we have printed the base. Our boards use a combination of sublimation-only and sub+diecut. We have not shown the diecut process here, but basically we print the base in the same manner, but using a die, cut the shape out and replace it with an equivalent shape from a different colour - go and check out our boards to see the effect.
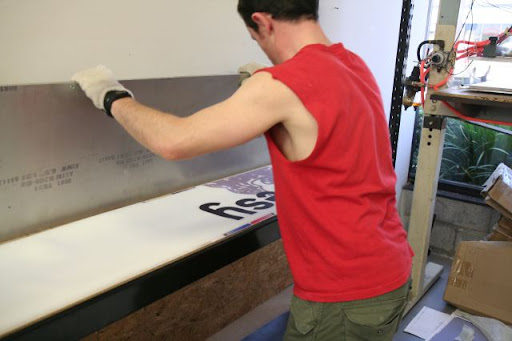
Here, we can see the base, laid flat, and the metal plate is a thick aluminium plate to help the base cool uniformly and in a flat manner. This helps prevent uneven cooling and thus a change in the integrity of the material.
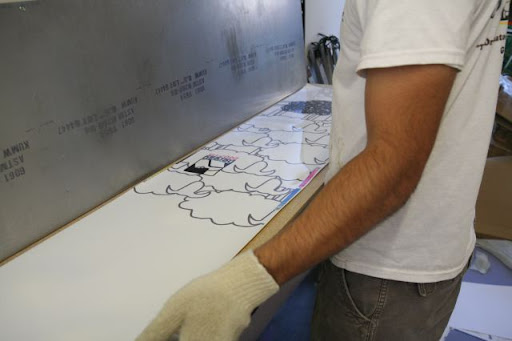
Below we can see a printed topsheet; the sheet now has excellent saturation.
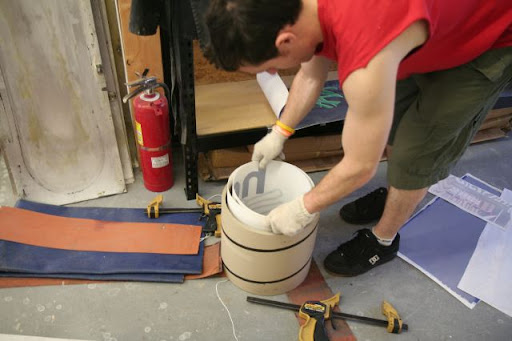
After the topsheet or base has cooled for the requisite time, we transfer it into this hi-tech holder!
So there you go, so far, we have:
-printed the base and topsheet, and
-transferred them to the topsheet and base material (ISO 7500)
Next? Next we show how the bases are cut in preparation for layup on the mold and rail attachment.
Next >> Part 2 - Cutting the Base
We've promised we'd put up a tour of our factory showing how our boards are made for some time, so, here it is; enjoy! We'll bring this to you over about 8 parts. We include the whole process include how to prepare the snowboard print, prepare the core, shape the snowboard, press, and finally finish the board including shaping the sidewalls and grinding the base.
In these photos you will see yours truly in red, and my man Sean in white. He's super-radical and I took him to Rock the Bells 2007 where we saw Rage Against the Machine, Wu Tang, Public Enemy, Mos Def and Cypress Hill amongst others. He was shocked.
So, here we go, Part 1: Print of, & Base/Topsheet creation.
Step 1: Base and Topsheet Print
In this step, we are printing the transfer for the base and topsheet graphic. This is printed on a large form factor printer in CMYK. Although the colours don't look rich upon exit from printer, this is not a cause for concern; the colours take a deep hue on transfer. To get to this point, we have designed the artwork in Adobe Illustrator (or Photoshop, or even something like Corel), to produce a file for the printer.
The finished topsheet print and base print.
That was easy eh? We now move on to the fun parts. At this point, I like to have a sip on my delicious Doctor Pepper beverage and sigh in excitement. "Why?" you ask? Because making snowboards is ace.
Step 2: Prepping, Printing and Curing the base and topsheet
After sipping from my crazy-ounced Dr Pepper, we begin prepping the topsheets and bases. Let's shorten base and topsheet to B&T which sounds suspiciously delicious (perhaps Bacon and Tomatoe, sandwich, but is really beetroot and tomatoe as I don't dig on pig so much).
Here we go laying out a length of the ISO topsheet.
Cutting, cutting.
Here, we have printed the base. Our boards use a combination of sublimation-only and sub+diecut. We have not shown the diecut process here, but basically we print the base in the same manner, but using a die, cut the shape out and replace it with an equivalent shape from a different colour - go and check out our boards to see the effect.
Here, we can see the base, laid flat, and the metal plate is a thick aluminium plate to help the base cool uniformly and in a flat manner. This helps prevent uneven cooling and thus a change in the integrity of the material.
Below we can see a printed topsheet; the sheet now has excellent saturation.
After the topsheet or base has cooled for the requisite time, we transfer it into this hi-tech holder!
So there you go, so far, we have:
-printed the base and topsheet, and
-transferred them to the topsheet and base material (ISO 7500)
Next? Next we show how the bases are cut in preparation for layup on the mold and rail attachment.
Next >> Part 2 - Cutting the Base


1 comment:
Thanks for sharing how to create a Snowboard. Its a great fun to do that.
Post a Comment