How to Make a Snowboard - Part 3
This is part 3 in our series showing how to make a snowboard from start to finish.
In Part 1 we learned about the printing of the base and topsheet graphic and the transfer onto the actual base and topsheet material.
In Part 2 we cut the base in preparation for the next steps - attaching the rails (step 4) and cutting the core and attaching the sidewalls (step 5).
Now we're ready to attach the rails to the base and get the core ready.
Step 4: Attaching the rails
The rails are shaped and formed according to the shape of the board we are making. It is therefore possible to have many different rail shapes in the factory, but sometimes we can re-shape one shape to fit another mold.
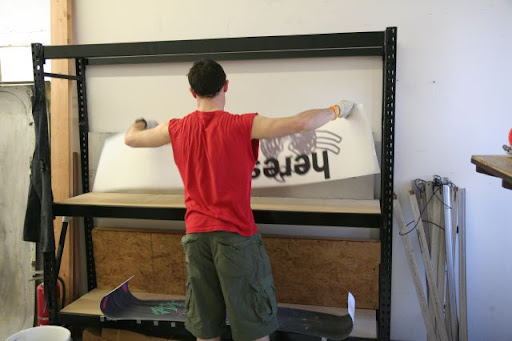
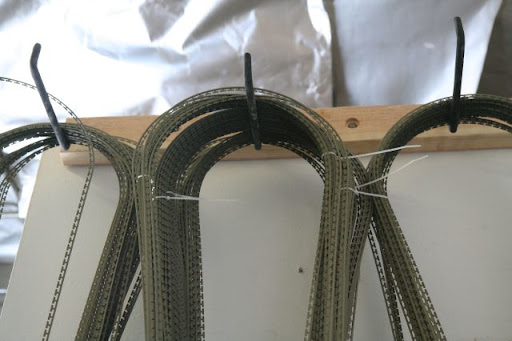
Below we can see some rails hanging up in preparation for use.
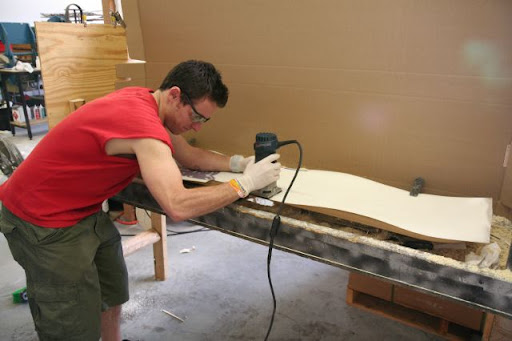
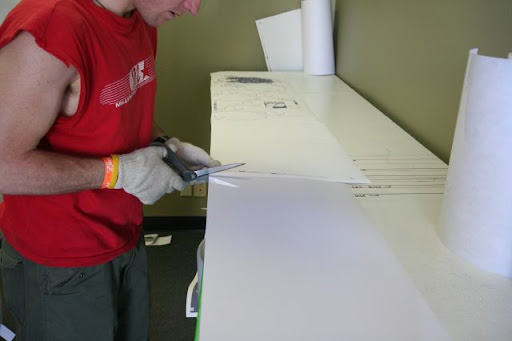
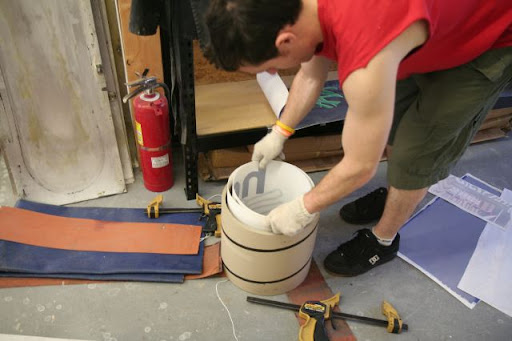
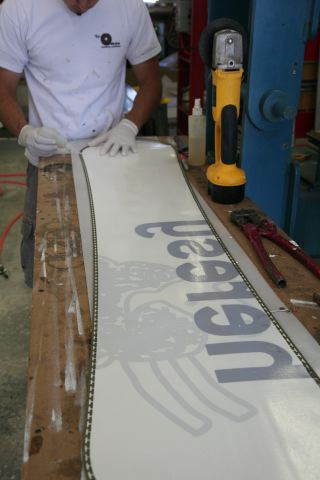
As our boards are handmade, great attention to detail is paid to ensure the highest quality boards. Attaching the rail is a crucial part of the process, where we need to ensure the rail is as flush as possible to the edge of the base material (Sintered 7500 for 2008). The edges are Rockwell 48 steel. Basically, we attach them flush to the base, using small amounts of an adhesive to hold it in place in preparation for the press.
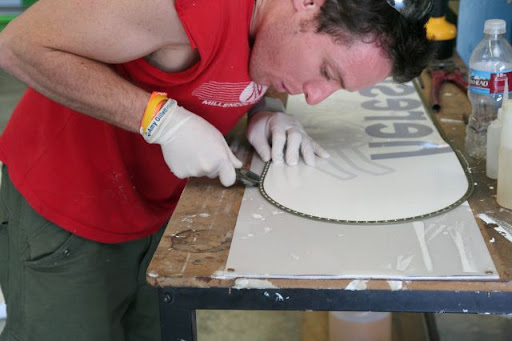
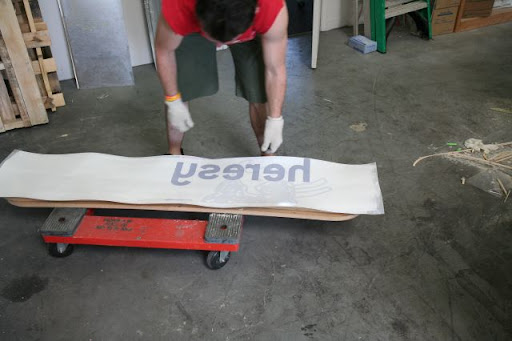
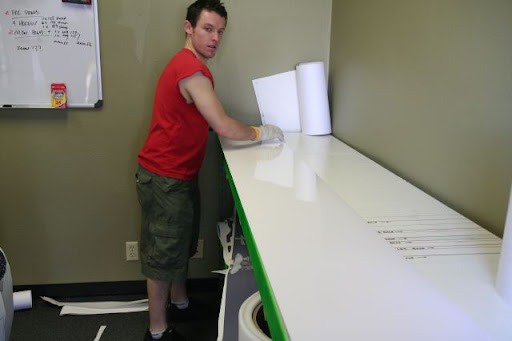
Below we can see an almost-complete base, ready for layup.
Step 5: Prepping the Core
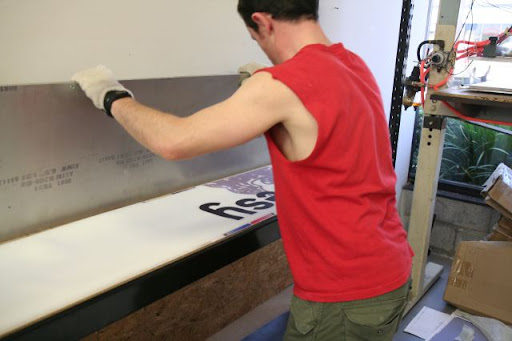
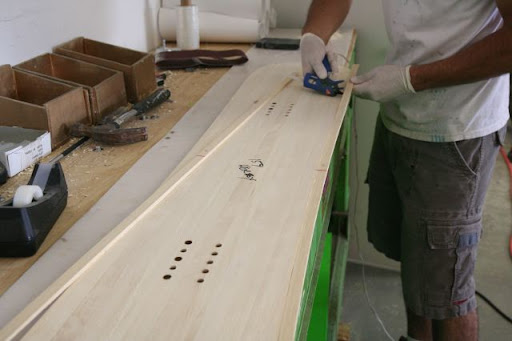
In this step we take our milled core, which is made specifically for a board length and shape, and is a full wood core. We attach our sidewalls (more timber, MUCH better memory and flex characteristics than ABS sidewalls, and significantly lighter) and extend the tips, recycling some offcut base material.
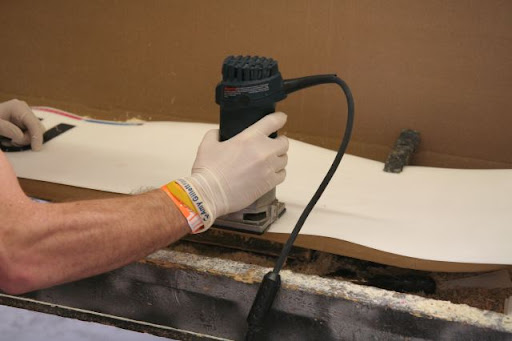
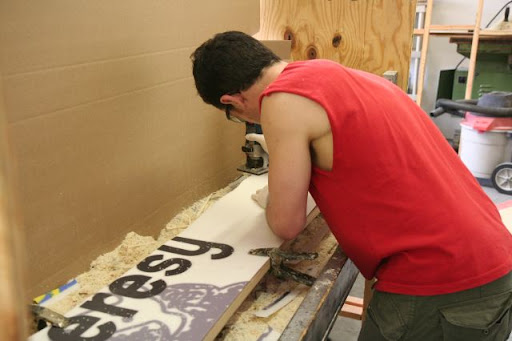
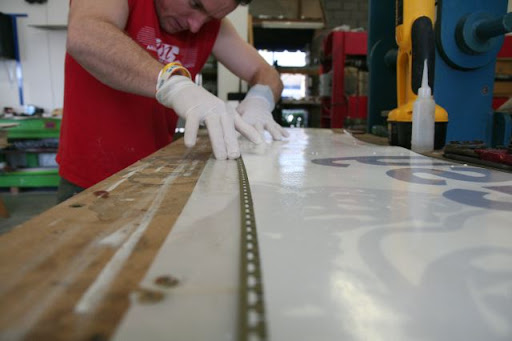
In the step below, the sidewalls are being glued on.
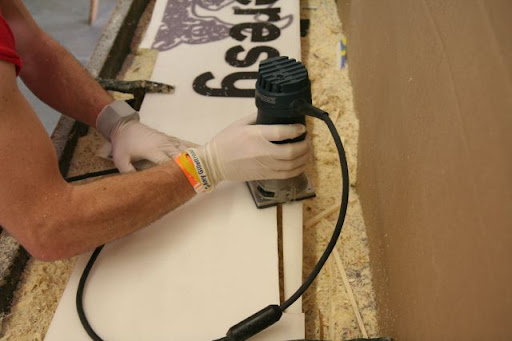
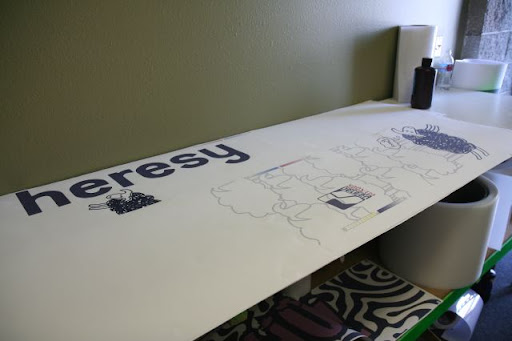
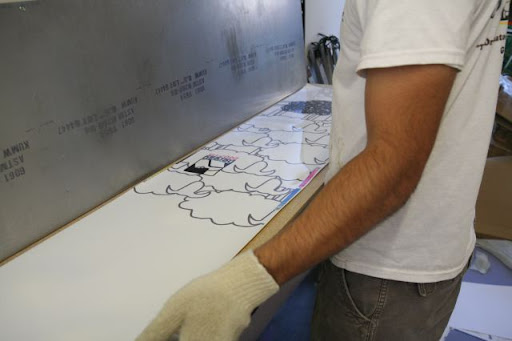
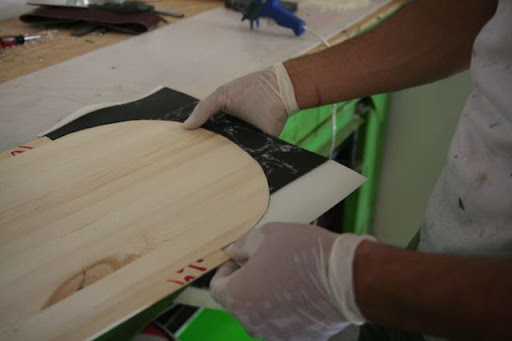
Here, the tip fill is attached.
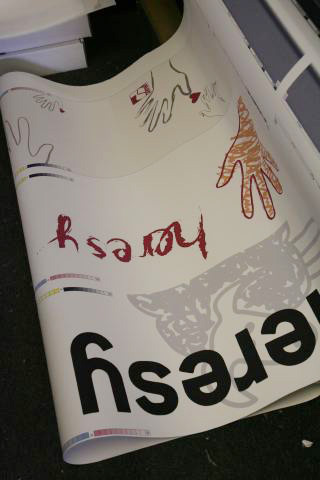
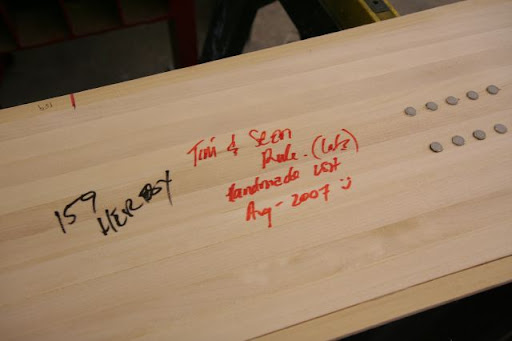
And here we can see Tim and Sean have had some Dr Pepper and gone sugar crazy by personalising this board. This board ending going up to someone in Western Australia. This is how personalised we get with the boards. We really care about the little things.
In Part 4, we will be checking out the fibreglass prep and the layup process, so stay tuned. In the meantime, you can check the boards out at our online store, where they will be on sale very shortly (we're about to announce a special sale).
This is part 3 in our series showing how to make a snowboard from start to finish.
In Part 1 we learned about the printing of the base and topsheet graphic and the transfer onto the actual base and topsheet material.
In Part 2 we cut the base in preparation for the next steps - attaching the rails (step 4) and cutting the core and attaching the sidewalls (step 5).
Now we're ready to attach the rails to the base and get the core ready.
Step 4: Attaching the rails
The rails are shaped and formed according to the shape of the board we are making. It is therefore possible to have many different rail shapes in the factory, but sometimes we can re-shape one shape to fit another mold.
Below we can see some rails hanging up in preparation for use.

As our boards are handmade, great attention to detail is paid to ensure the highest quality boards. Attaching the rail is a crucial part of the process, where we need to ensure the rail is as flush as possible to the edge of the base material (Sintered 7500 for 2008). The edges are Rockwell 48 steel. Basically, we attach them flush to the base, using small amounts of an adhesive to hold it in place in preparation for the press.


Below we can see an almost-complete base, ready for layup.

Step 5: Prepping the Core
In this step we take our milled core, which is made specifically for a board length and shape, and is a full wood core. We attach our sidewalls (more timber, MUCH better memory and flex characteristics than ABS sidewalls, and significantly lighter) and extend the tips, recycling some offcut base material.
In the step below, the sidewalls are being glued on.

Here, the tip fill is attached.

And here we can see Tim and Sean have had some Dr Pepper and gone sugar crazy by personalising this board. This board ending going up to someone in Western Australia. This is how personalised we get with the boards. We really care about the little things.

In Part 4, we will be checking out the fibreglass prep and the layup process, so stay tuned. In the meantime, you can check the boards out at our online store, where they will be on sale very shortly (we're about to announce a special sale).